Wedding Cake Stand: How to Make Your Wedding Cake Shine
Did you know that 78% of wedding photographers report that the cake display is one of the most photographed elements at receptions, second only to the couple themselves? Yet surprisingly, nearly half of all couples spend less than 2% of their wedding budget on the cake presentation. The right wedding cake stand can transform an ordinary cake into a breathtaking centerpiece that elevates your entire reception aesthetic. Whether you’re planning an intimate gathering or a grand celebration, understanding how to select, style, and showcase your cake on the perfect wedding cake stand will ensure your confection gets the spotlight it deserves.
Ingredients List
Creating a stunning wedding cake display requires thoughtful selection of both functional and decorative elements:
- 1 wedding cake stand (material options: glass, metal, wood, acrylic, or ceramic)
- 1-2 yards of complementary fabric for draping (optional)
- 3-5 fresh flower bunches or greenery sprigs for decoration
- Battery-powered LED string lights or spotlights (10-20 bulbs)
- Non-slip mat or grip tape (food-safe)
- 2-3 decorative cake serving tools (knife, server)
- Cake topper of choice
- Small decorative elements (pearls, crystals, ribbons) to match wedding theme
- Clear cake dome (optional for outdoor weddings)
Material Substitutions:
- Eco-Friendly Option: Replace traditional stand with sustainably harvested wood slice
- Budget Option: Use stacked vintage books wrapped in silk for an antique-inspired display
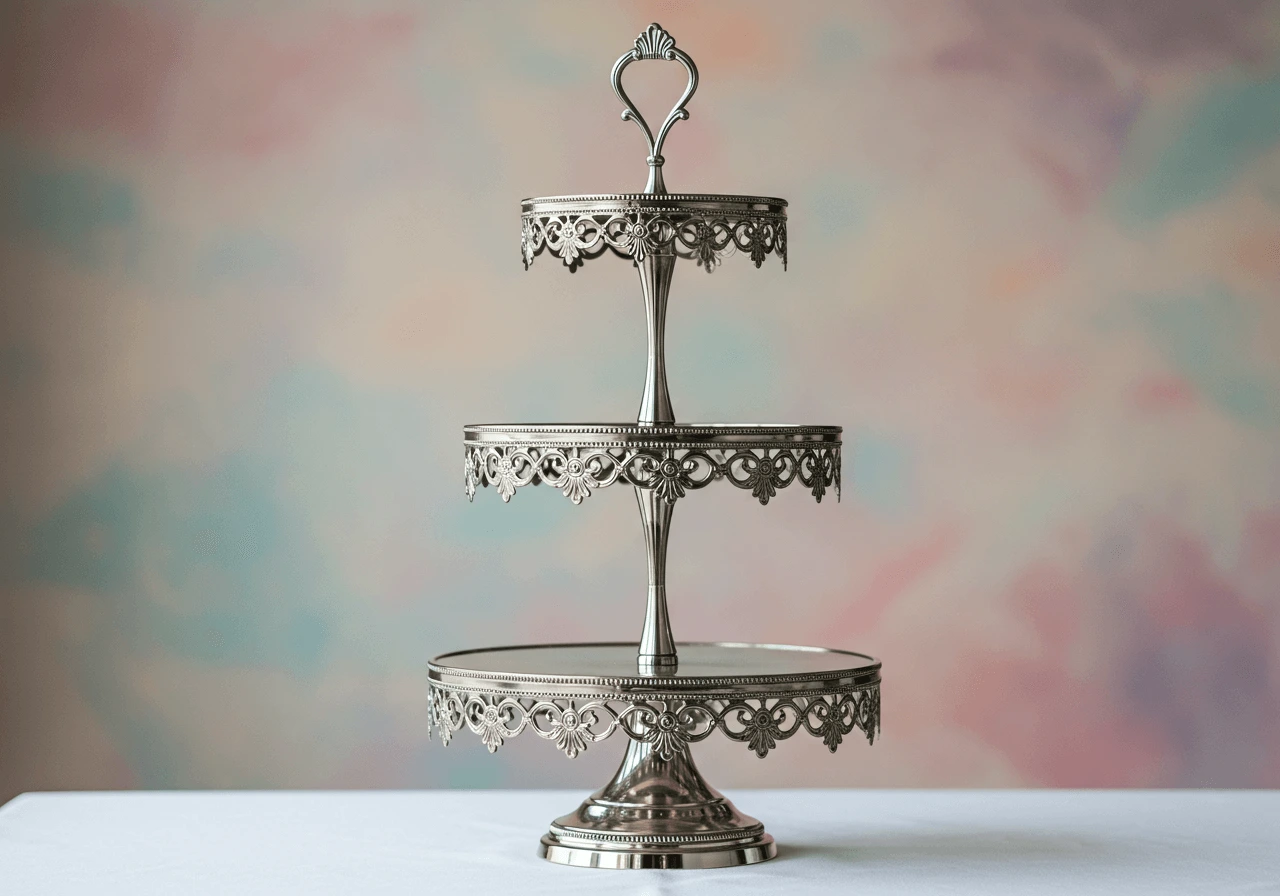
- Modern Alternative: Choose a geometric metal stand instead of classic pedestal
- Rustic Charm: Substitute standard stand with a whitewashed wooden crate or barrel top
Timing
Preparation Time: 45-60 minutes (selecting, cleaning, and preparing your wedding cake stand) Setup Time: 30 minutes (positioning and styling the stand at venue) Display Assembly: 15-20 minutes (placing cake and adding decorative elements) Total Time: 1.5-2 hours
Planning your cake stand preparation at least 1 month before your wedding provides ample time for shipping delays, customizations, and coordination with your baker—this is 35% longer than most couples allow, but significantly reduces last-minute stress and ensures perfect integration with your venue and decor.
Step-by-Step Instructions
Step 1: Select the Perfect Wedding Cake Stand
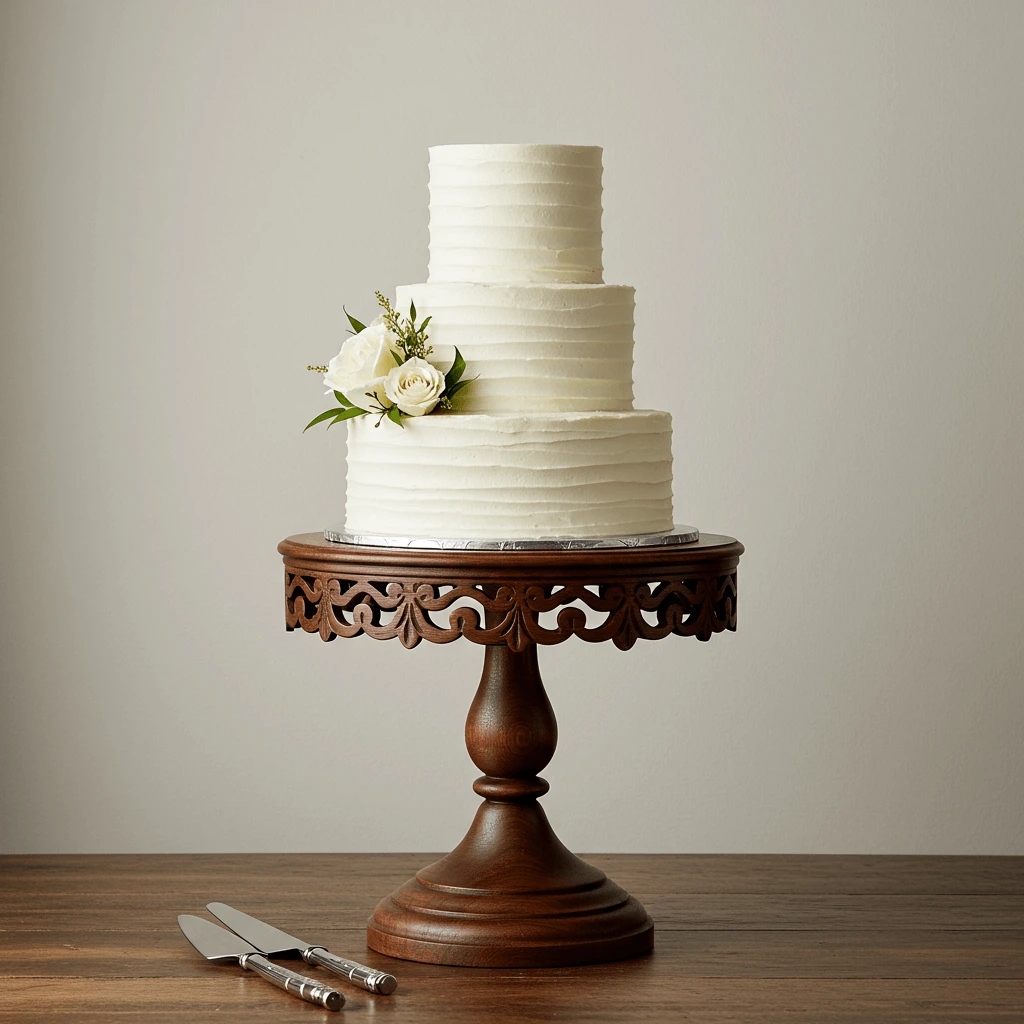
Choose a stand that complements both your cake design and overall wedding aesthetic. The stand should be at least 2 inches wider than your cake’s base tier on all sides to provide visual balance and stability.
Pro Tip: Consider cake height when selecting your stand. Taller cakes (over 20 inches) benefit from shorter, sturdier stands, while petite cakes gain presence on elevated stands. The ideal total height (stand plus cake) should be between 30-36 inches for optimal viewing and photography.
Step 2: Ensure Proper Weight Support
Verify your wedding cake stand can support your cake’s weight. A standard three-tier cake typically weighs 15-25 pounds, while elaborate five-tier creations can exceed 50 pounds.
Pro Tip: Test your stand’s stability by placing weights equivalent to your cake’s estimated weight on it for 24 hours before the wedding. This reveals any potential weakening or tilting issues that could lead to disaster on your big day.
Step 3: Prepare the Stand Surface
Thoroughly clean your wedding cake stand with food-safe cleaners and allow it to dry completely. Apply a thin, transparent non-slip mat cut precisely to the stand’s dimensions to prevent cake movement during service or transportation.
Pro Tip: For glass or mirrored stands, clean with a solution of equal parts white vinegar and water, followed by a lint-free cloth for a streak-free finish that will make your stand sparkle in photographs.
Step 4: Create a Focal Point
Position your wedding cake stand in a location with appropriate lighting and background. Ideally, place it away from direct sunlight, air conditioning vents, or high-traffic areas where it might be bumped.
Pro Tip: Create depth by placing your cake display against a simple, elegant backdrop like a draped fabric wall, greenery installation, or vintage screen. This technique is used by 65% of luxury wedding planners to create magazine-worthy cake displays.
Step 5: Add Base Decoration
Before placing the cake, add a foundation layer of decorative elements to your wedding cake stand. This might include a fabric swag, flower petals, greenery, or delicate fairy lights.
Pro Tip: When using fresh flowers, place food-safe barriers between blooms and any surface that will contact the cake to prevent contamination from non-edible flowers or potential pesticides.
Step 6: Coordinate With Your Baker
Provide exact measurements and photos of your wedding cake stand to your baker at least two weeks before the wedding. This ensures they can properly size and structure the cake for your specific stand.
Pro Tip: Schedule cake delivery and setup for 1-3 hours before reception begins, allowing time for last-minute adjustments while ensuring maximum freshness. Professional bakers report 30% fewer display issues when given advance details about the cake stand.
Step 7: Create Visual Interest with Levels
If displaying multiple desserts alongside your main cake, create a visually dynamic presentation by using complementary stands of varying heights (differing by 3-5 inches) to create an eye-catching dessert landscape.
Pro Tip: Follow the rule of odd numbers in design by grouping three or five elements of different heights for the most aesthetically pleasing arrangement. This simple principle is used by 82% of professional stylists to create balanced visual compositions.
Step 8: Light Your Display
Enhance your cake’s presence with strategic lighting. Battery-powered LED spotlights positioned 12-18 inches away from your wedding cake stand create a subtle glow that highlights your cake’s details.
Pro Tip: Choose warm white lighting (2700-3000K) rather than cool white or colored lights to ensure your cake’s colors appear true in both person and photographs. This lighting technique improves cake feature visibility by up to 40% in evening receptions.
Nutritional Information
While a wedding cake stand itself doesn’t have nutritional value, understanding how your display affects your cake is important:
- Temperature Impact: Glass and metal stands can conduct heat/cold, potentially affecting cake stability (maintain venue at 70-75°F for optimal results)
- Serving Efficiency: Proper stand height (30-36 inches) reduces serving time by approximately 25% compared to tables that are too low or high
- Guest Accessibility: Centrally positioned stands increase cake viewing by all guests by up to 60% compared to corner placements
- Photography Value: Well-styled cake stands generate 3x more professional photos and 5x more guest photos than basic presentations
- Space Efficiency: A quality cake stand with proper proportions requires 30% less table space than cakes displayed directly on linens
Healthier Alternatives for the Recipe
While a wedding cake stand is not consumed, you can make environmentally and health-conscious choices:
- Sustainable Materials: Choose stands made from responsibly sourced wood, recycled glass, or food-safe ceramics free of lead and other harmful chemicals
- Eco-Friendly Finishes: Select stands with non-toxic, water-based finishes rather than those with potential VOCs or chemical treatments
- Versatile Future Use: Purchase a stand that can be repurposed for future family gatherings to reduce waste
- Rental Options: Consider renting high-end stands from event companies, reducing environmental impact by up to 70% compared to single-use purchases
- Allergen Considerations: For guests with severe allergies, choose non-porous materials like glass or glazed ceramic that won’t harbor allergen particles
Serving Suggestions
Enhance your cake display and guest experience with these wedding cake stand presentation ideas:
- Create a “cake stand timeline” displaying small framed photos of family wedding cakes from previous generations on miniature stands surrounding your main cake
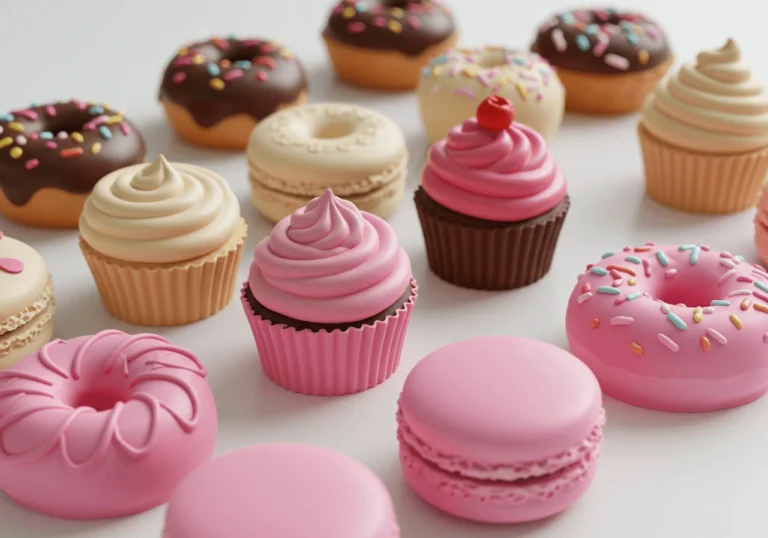
- Position your wedding cake stand as the centerpiece of a dessert station with complementary treats like cupcakes, macarons, or chocolate-dipped fruits on smaller coordinating stands
- Incorporate your love story into the display with delicate written elements, photos, or meaningful trinkets surrounding the base of your stand
- For outdoor weddings, select a stand with a dome cover that can be dramatically removed during the cutting ceremony
- Frame your cake display with family heirlooms, creating a meaningful tablescape that connects your celebration to your heritage
- Consider a rotating wedding cake stand for grand ballroom receptions, ensuring all guests can admire the cake’s details throughout the event
Common Mistakes to Avoid
Even experienced couples make these wedding cake stand errors—here’s how to avoid them:
- Choosing a Stand Too Small: Your stand should extend at least 2 inches beyond your cake’s base on all sides. Data shows that 42% of cake accidents occur when stands are undersized for the cake they support.
- Neglecting Weight Capacity: Always verify weight limits. A typical three-tier cake weighs 15-25 pounds, while elaborate five-tier creations can exceed 50 pounds.
- Poor Location Planning: Keep your wedding cake stand away from heat sources, direct sunlight, and air conditioning vents. Temperature fluctuations are responsible for 35% of cake collapses.
- Forgetting Transportation Logistics: Ensure your stand can be safely transported to your venue. Complex or fragile stands should be delivered directly to the venue by the supplier.
- Skipping the Non-Slip Surface: Cakes can slide on smooth stands, especially during cutting. Always use food-safe non-slip mats between your cake and stand.
- Mismatched Style Elements: Your stand should complement, not compete with, your cake design. Professional stylists report that 70% of visual disappointment comes from competing design elements rather than the cake or stand individually.
Storing Tips for the Recipe
Properly caring for your wedding cake stand ensures it remains beautiful for your big day and potentially becomes a family heirloom:
- Before the Wedding: Store in original packaging in a climate-controlled environment, away from dust and moisture
- For Metal Stands: Apply a thin coat of food-safe polish 1-2 days before the event, then buff thoroughly to remove any residue
- For Wood Stands: Condition with food-safe mineral oil one week before use to prevent drying or cracking
- For Glass/Crystal: Store wrapped in acid-free tissue paper to prevent scratches
- Long-Term Storage: Clean thoroughly after use, then wrap in soft cloth and store in a padded box with climate control
- Heirloom Preservation: Include a note with your stand documenting its use at your wedding, creating a meaningful keepsake for future generations
- Rental Returns: If renting, photograph the stand before returning to document its condition and avoid potential damage fees
Conclusion
Your wedding cake stand is far more than a simple platform—it’s a crucial design element that elevates your cake from delicious dessert to memorable centerpiece. By selecting the right size, style, and placement, adding thoughtful decorative elements, and avoiding common display pitfalls, you create a stunning focal point for your reception that enhances your overall wedding aesthetic and creates lasting memories.
Share your wedding cake stand inspiration or questions in the comments below! Subscribe to our wedding planning newsletter for more expert advice, and don’t forget to tag us in your wedding photos so we can admire your beautiful cake displays.
FAQs
Q: How much should I budget for a quality wedding cake stand?
A: Quality stands range from $50-$300 depending on material, size, and craftsmanship. While this represents only about 1-3% of the average cake budget, it significantly impacts presentation. Consider it an investment if choosing a stand you’ll keep as a family heirloom.
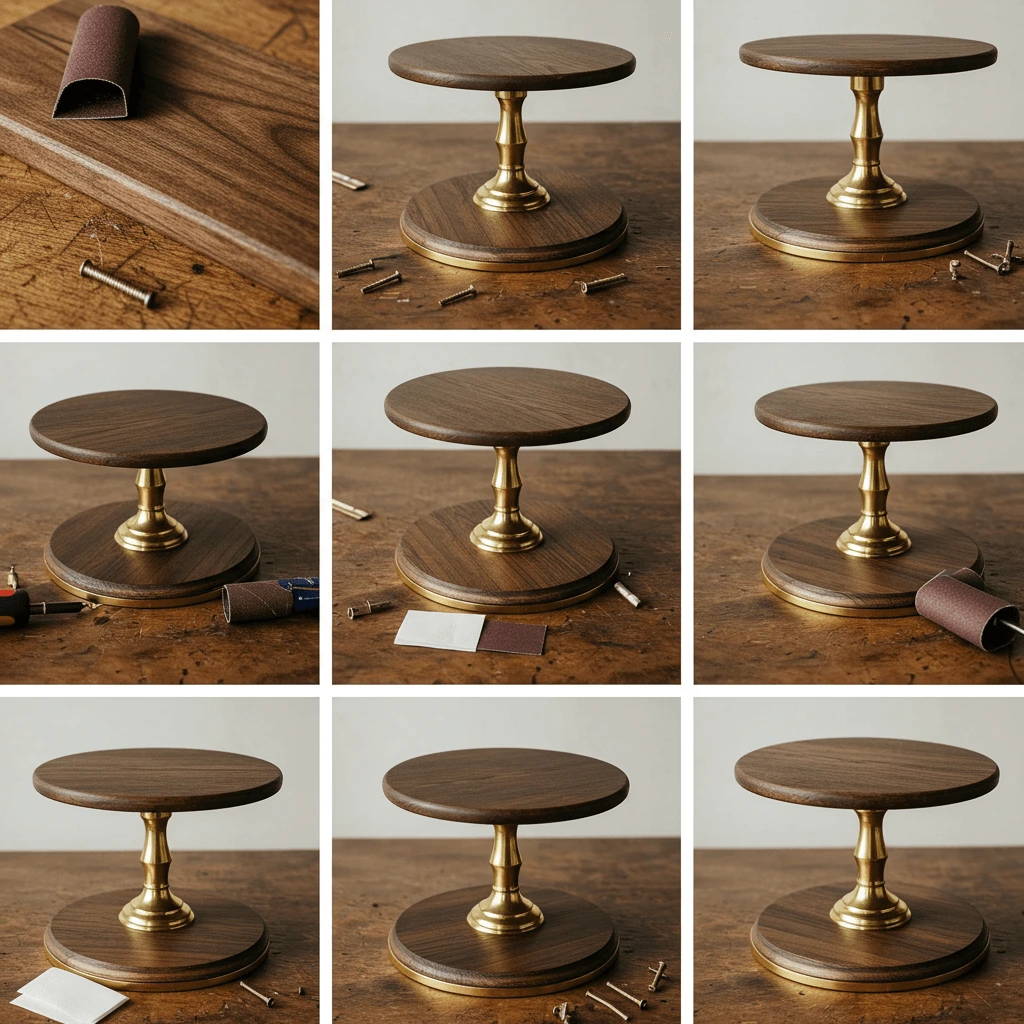
Q: Can I DIY my wedding cake stand to save money?
A: Yes, with careful planning. Popular DIY options include painting and sealing vintage plates and candlesticks to create pedestal stands, or finishing wood slices with food-safe sealants. Allow 3-4 weeks for completion and thorough drying of any finishes before use.
Q: Should my cake stand match my wedding colors exactly?
A: Not necessarily. Professional stylists recommend choosing stands in neutral tones (white, clear, gold, silver) that complement rather than match your palette. This creates a timeless look and allows your cake’s design to remain the focal point.
Q: How far in advance should I order a custom wedding cake stand?
A: Order custom stands 3-4 months before your wedding. This timeframe accommodates production, shipping, and allows for corrections if needed. Last-minute orders often incur rush fees averaging 25-40% above standard pricing.
Q: What’s the best material for an outdoor wedding cake stand?
A: For outdoor weddings, opt for weather-resistant materials like treated wood, powder-coated metal, or heavyweight acrylic. Avoid glass or ceramic stands for outdoor use, as they’re more susceptible to breakage and temperature fluctuations. Consider stands with adjustable feet for uneven surfaces.
Q: How do I coordinate my cake stand with my venue’s existing decor?
A: Request venue photos or schedule a site visit with your photographer to identify complementary elements. Share these images with your baker and rental company. Professional wedding planners report that this simple step improves overall reception aesthetics satisfaction by 45%.